Hi there!
I have a fun tutorial for you today that is also a little bit "green".
I have chosen to go with a Christmas theme since we are only 4 1/2 weeks away (yikes).
First up, chose the package you would like to use and recycle into your card, I am using this packaging from Maya Road.
I replaced the cardboard back with cardstock in a colour that compliments my card.
Fill the package with candy of your choice.
Measure the actual 'bubble' part of the packaging.
Using light weight cardstock cut an opening to accommodate your bubble, in your desired location. Note this is not your card base, it will be the part of the card that holds the candy bubble, this way you will actually be able to remove the candy.
Insert the candy bubble into the opening and adhere in place by putting adhesive onto the front of the packaging in a spot where it will not show through the opening. Do not put any adhesive on the back of your candy bubble.
Now adhere the bottom and side of this light weight cardstock together, this will form a pouch.
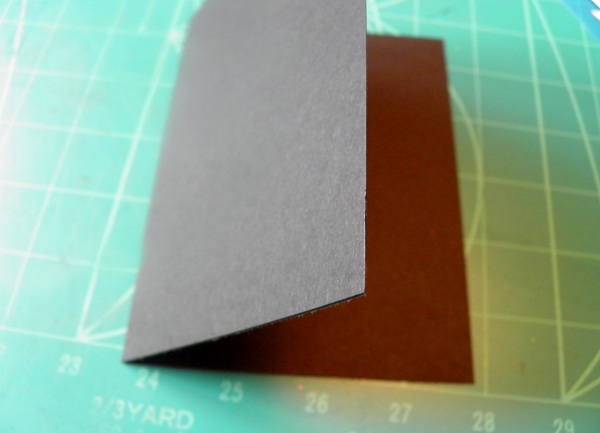
Now, create a card base. I am using black.
Adhere your pouch to the front of the card base.
Using the patterned paper of your choice, cut an opening out to accommodate the candy bubble and adhere to your card front, like so.
Next I used a coordinating piece of cardstock to place along the left hand edge of my card.
Using a scrap of felt, I die cut a snowflake and added glitter to the edges.
I added the snowflake to the card and then attached a coordinating embellishment from my paper pack to it. I also added some baker's twine to the folded edge of my card and tied on a couple of beads.
And that's it! Pretty easy to make and you can customize them with your recipients favourite candy.
Thanks for stopping by today!
Laura
xoxo


No comments:
Post a Comment